Category: Inspiration

How to Write A Photographer Bio for Your Website

Writing about yourself can be difficult. It’s not easy to identify your defining characteristics and sum yourself up in a neat and concise manner. And this is true when you’re writing a photographer bio for your website.

The bio page is an important part of your website. It’s something that potential clients will look at to get an idea about the person behind the pictures. In this post, we’ll help you write an awesome photographer bio for your professional website. We have tips, suggestions, and the dos and don’ts for the perfect bio.

Do You Need A Bio Page on Your Website?

The short answer is yes. As a photographer, you may think your portfolio speaks for itself. The logic may be to let the photos do the talking. The bulk of your website will be dedicated to your photography work, but the bio page also plays a crucial role on your website.

Your portfolio is your shop window. It shows what you have to offer as a photographer. But a good bio introduces the viewer to the shopkeeper behind the glass. It adds heart and depth, showing that you’re more than just a storefront. It shows you’re a fully formed professional photographer.

How to Write a Photographer Bio

Now we’ll get into the nuts and bolts of writing a photographer bio for your website. We’ll give you some valuable suggestions, along with some of the dos and don’ts.

Of course, you should avoid typos and grammatical errors. But we’ll take a look at the finer points for writing an excellent photographer bio.

Introduce Yourself

The first sentence is critical when writing a bio. It introduces you as a professional and sets the tone for what’s to come. The reader will know if they want to continue after just a few words.

Use the first sentences to introduce yourself. Tell the reader your name and what you do. You can also add some extra details, like your location. But don’t get carried away.

Let Your Personality Shine in Your Bio

Many photographers keep their bios formal and very matter-of-fact. Other’s like to use humour to make their bio more memorable. You can go either way, as long as you’re portraying yourself naturally.

This is your photographer bio. It should reflect your personality as a person and as a photographer. The words need to connect you to the rest of your website without misrepresenting yourself to employers.

Don’t Focus On Size

When it comes to website bios, bigger isn’t always better. The word count of your bio will depend on several factors. You don’t need to focus on hitting a thousand words. You need to make sure the content is valid.

One factor that will influence the length of your bio is style. If you don’t enjoy writing, keeping it short will suit your personality. If you have a narrative style of photography, maybe your bio will take on a narrative style as well.

Stay Relevant

Whether your bio is short or long, the main thing is to stay relevant. Fill your paragraphs with valuable information about yourself and your photography work.

A potential client won’t stick around long if you don’t hold their attention. They don’t want to read your life story. And they don’t need to know about your favourite colour or which Spice Girl you had a crush on in 1997.

Use Your Professional Language

When I say “use your professional language”, I don’t mean cutting out the swear words and profanities. Of course, you should avoid these. But I mean you should write your bio with the language you usually use.

If you speak to clients in English, you should write the bio in that language. If you’re bilingual, you can have two copies of the text, one in each language.

Include a Photo

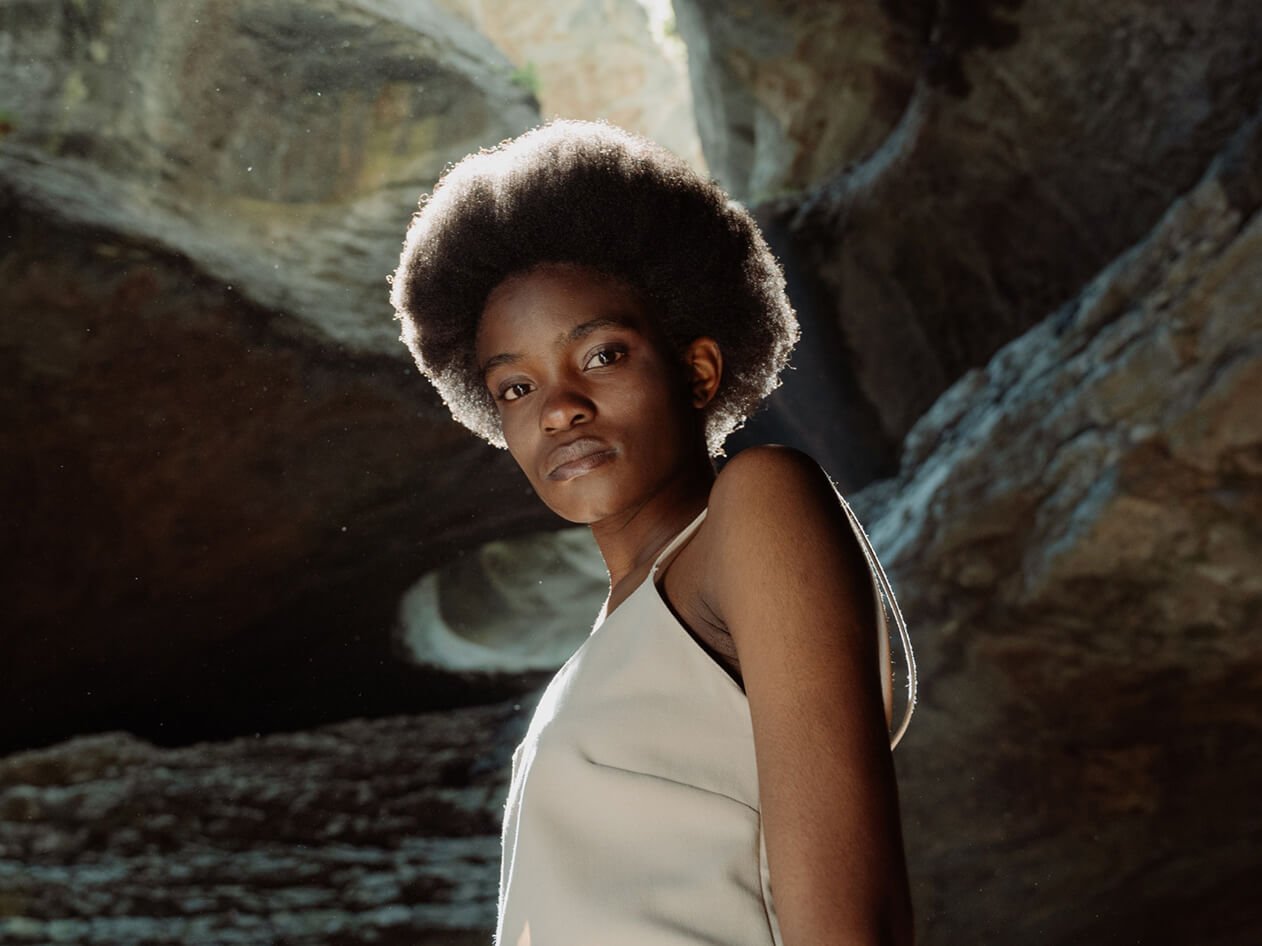
In writing a bio, you’re creating a written portrait of yourself. But including a photograph of yourself can add a human touch. Unless you’re a self-portrait artist, you might not appear in your own gallery, so it’s nice to put a face to a name.

The photograph you choose should fit the style of your work. You can have a portrait in your own style if you’re a portrait photographer. If you’re a nature or wildlife photographer, you can have a shot of yourself in action.

Negative Space in Photography: The Essential Guide

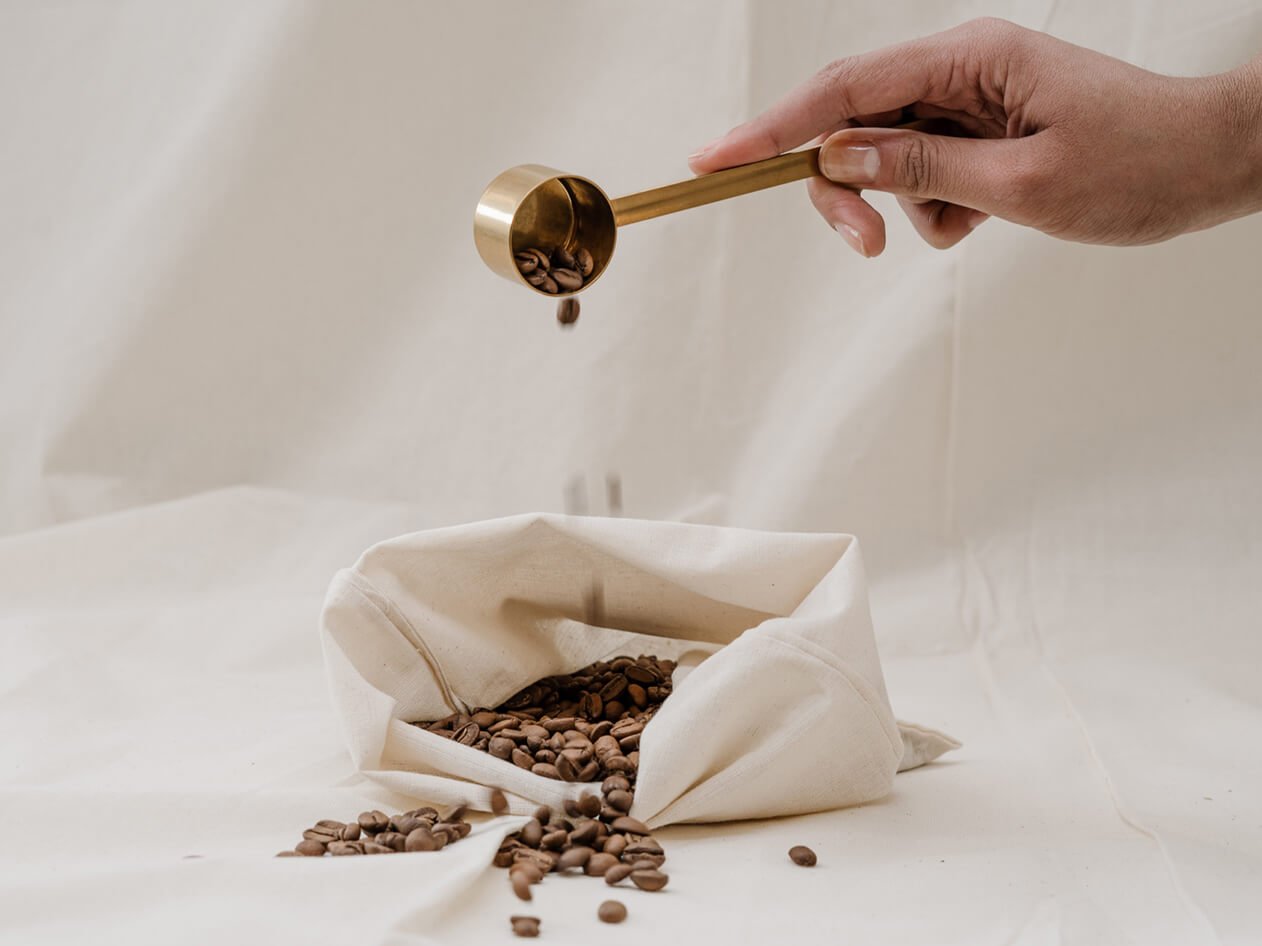
The term negative space may sound problematic, but it’s actually an essential component of almost every great image. In fact, if you want to create gorgeous photos, you must master negative space; that way, you can take shots that feature balanced, harmonious, eye-catching arrangements. (You can also capture wonderfully minimalistic compositions, as I discuss down below.)

Continue reading “Negative Space in Photography: The Essential Guide”

Product Photography: 5 Tips for Stunning Shots

Getting great product photos often seems daunting, but it’s simpler than you might think. As an experienced product photographer, I’ve spent years learning the ins and outs of the craft. And in this article, I aim to share it all.

1. Get your camera on a tripod

For one, they protect against blur. Once you mount your camera (or smartphone) on a tripod, then you can lengthen your shutter speed as much as you like without risking camera shake.

So what tripod should you buy? There are a huge variety of tripods available, all with different features and at different price points. As long as the tripod is strong enough to support your gear, you’ll probably be just fine – though if you can afford it, consider grabbing a tripod that can bend your camera over at ninety degrees. That way, you can easily capture popular flat-lay shots for Instagram.

2. Use the right lighting for the product

Yes, there are certain product photographers who spend hours or even days lighting a single setup and getting it perfect. And there are product photographers who work in a studio with a handful of strobes and dozens of modifiers. But while there is a time and a place for slow, complex product photography, it’s not necessary for all product photos, and you can certainly capture great product shots without such difficult lighting arrangements.

In fact, you can do product photography with only natural window light; simply put the product on the table (or even the floor) near a window, make sure it’s angled correctly, and start shooting. (Many people successfully photograph products on a table pulled up to a bright window!)

3. Shoot the product from multiple angles

Product photography is about helping the customer understand exactly what they’re getting. And when people are buying online, they can’t pick the product up, nor can they touch it.

So it’s your job, as the photographer, to convey all the small details to a potential purchaser. The best way to do that? Make sure you capture a variety of product angles. Shoot from above. Shoot from the left and the right. Make sure you emphasize every portion of the product, including all the little details.

Close-up shots are especially important if the item is handmade. By getting in close, you can convey the care and consideration the artisan put into their work. These little details are what differentiates handmade products from their mass-manufactured counterparts – so be sure to show them off!

4. Find out how the images will be displayed

Different product images are used in different ways. For instance, a client might want to use your photos for social media – or they might plan to use your photos on an e-commerce website. Plus, different vendors will have different specifications for how photographs look best on their sites. Some might prefer 3:2 landscape images, while others will work only with square-format files.

And then you should tailor your product photos to their specifications. For instance, if you are shooting for someone with an Etsy store, they might want photos that look great on their product page (generally portrait-orientation shots) and that work well as search thumbnails (these are landscape oriented). So you should carefully capture images that look good when cropped to both portrait and landscape orientations. (You may want to leave plenty of white space around the product, which you can then delete in post-processing.)

5. Don’t forget the packaging

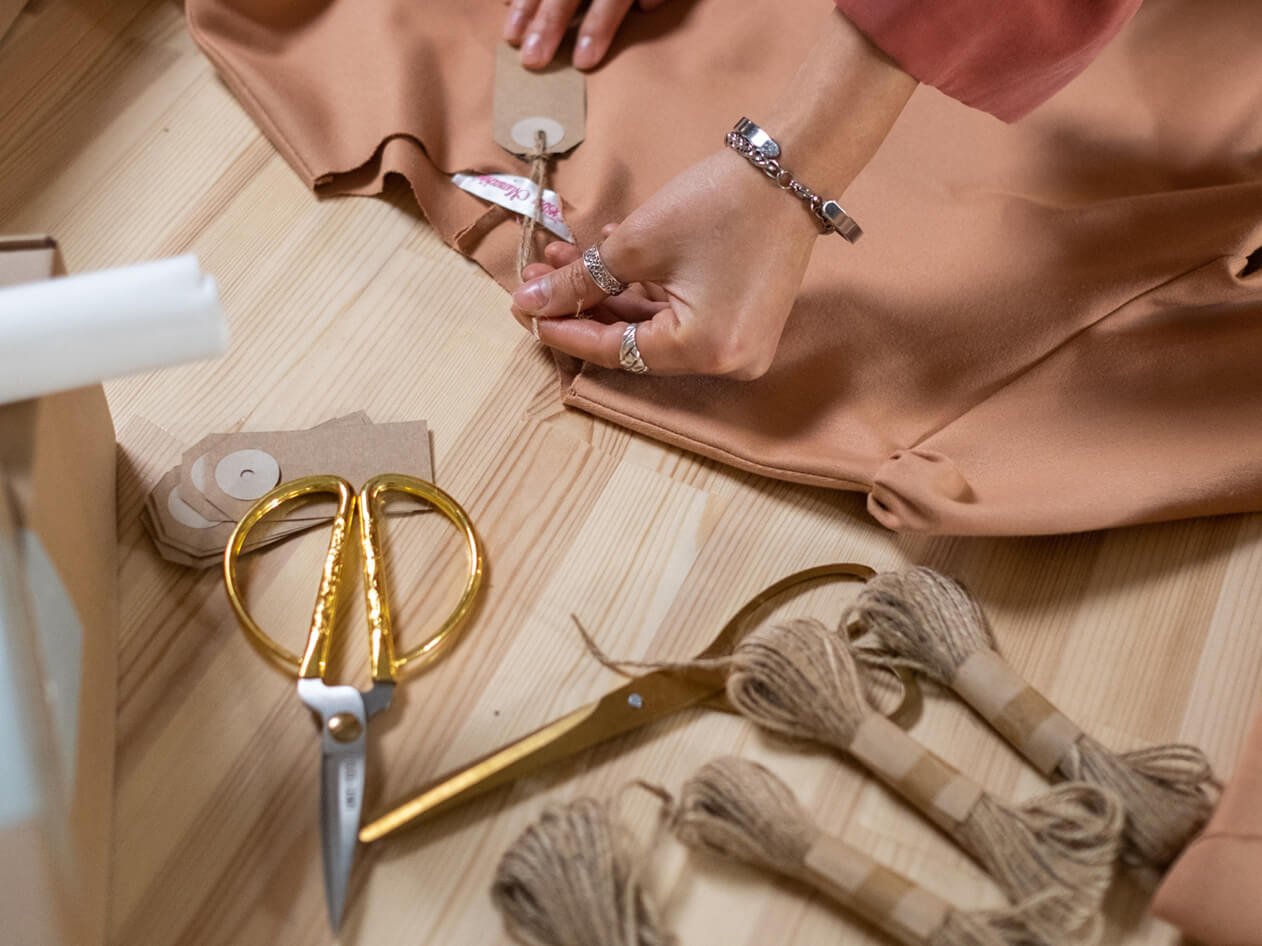
A huge percentage of product sales happen online, so the packing of a product contributes heavily to the first impression of a brand. As a result, artisan companies and small businesses often spend lots of time considering their packaging and branding – which means that you’ll have a beautiful, complementary prop to include in your shots.

You can capture plenty of photos featuring both the product and the box. Try shooting the product in the box, the product on top of the box, and the product next to the box. And if the packaging is interesting enough, shoot it on its own.